|
1/11/2018 0 Comments Final Post
0 Comments
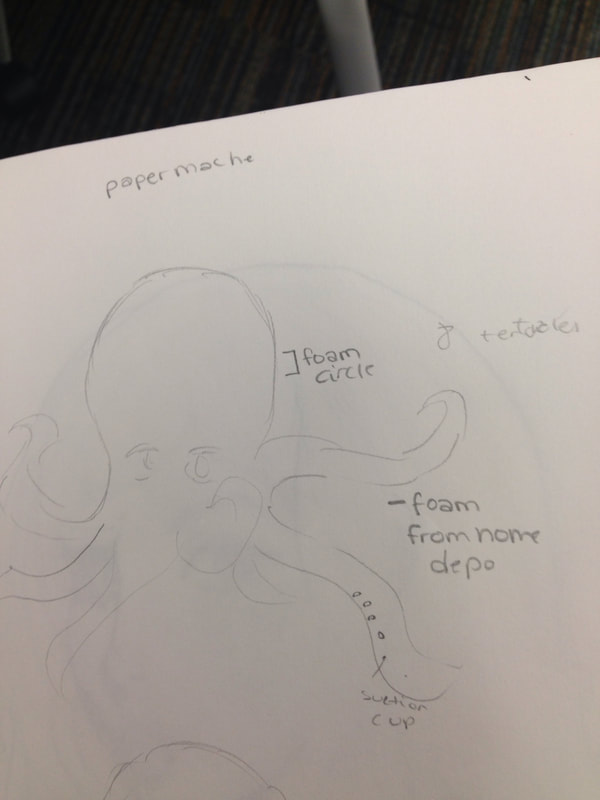
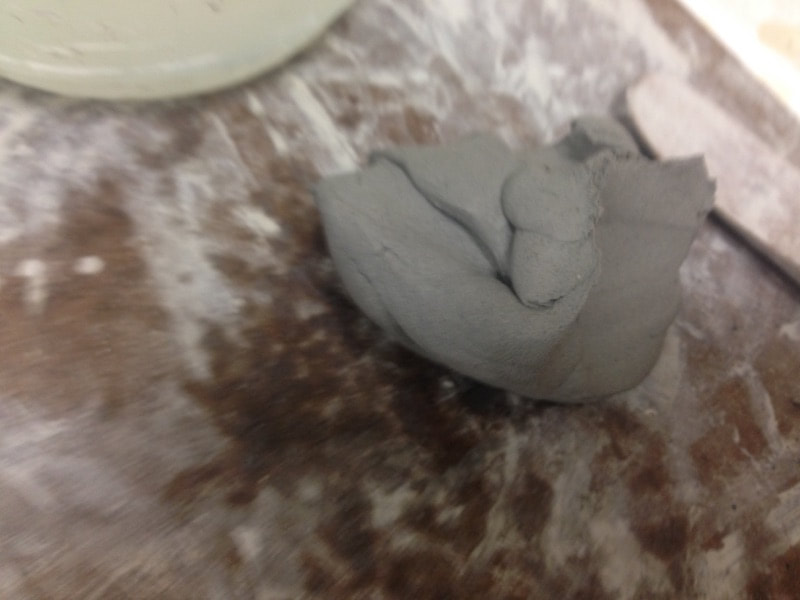
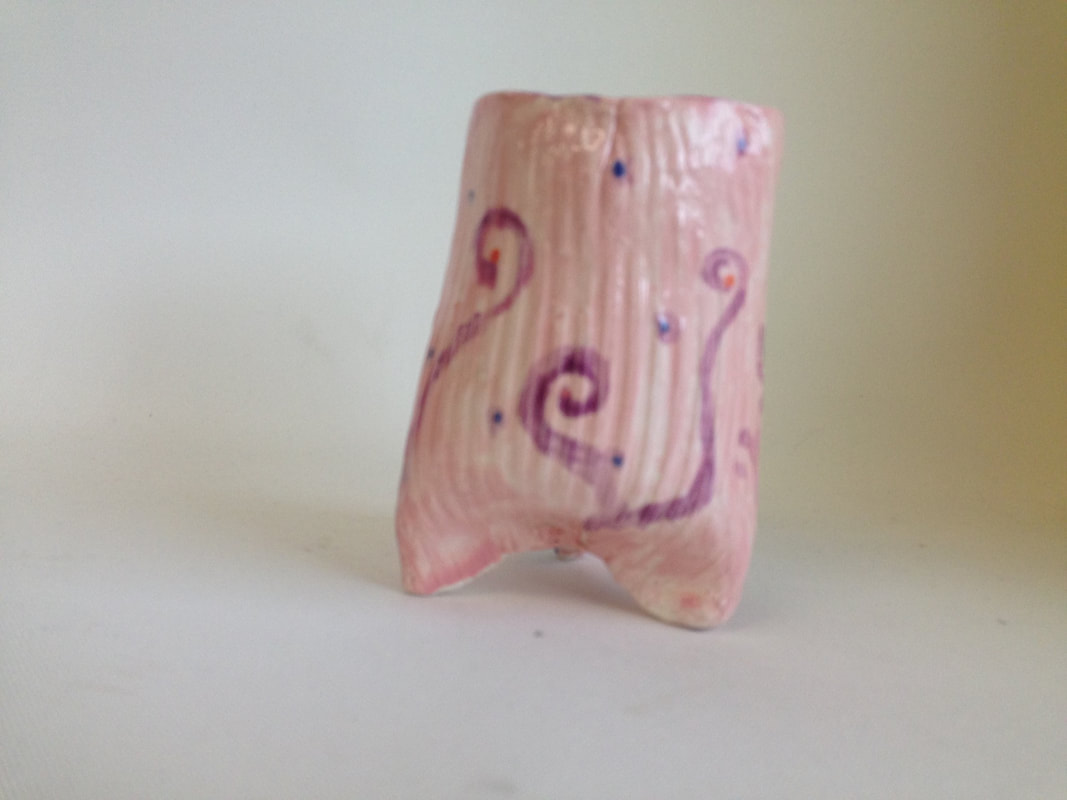
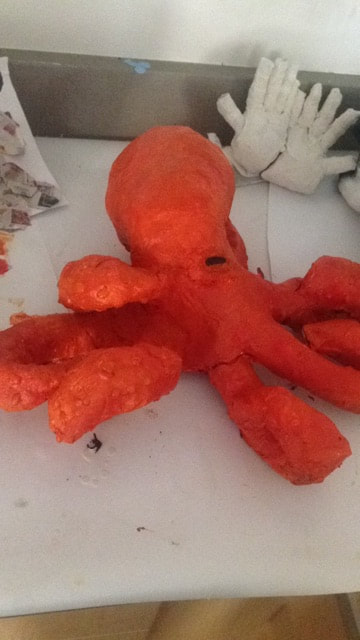
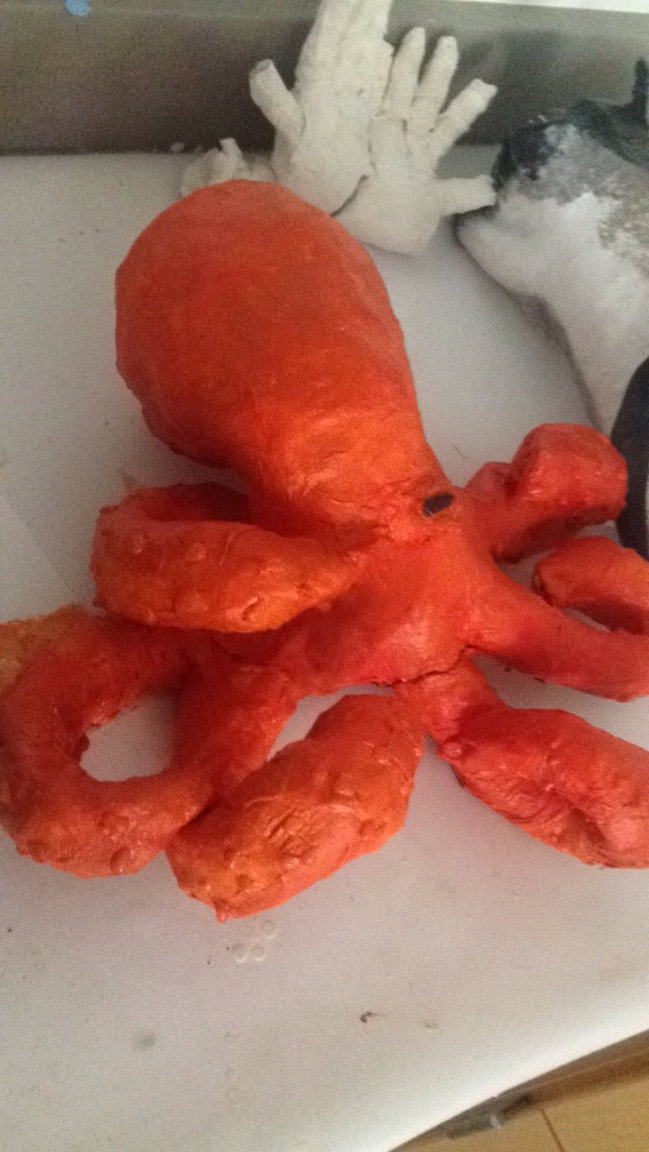
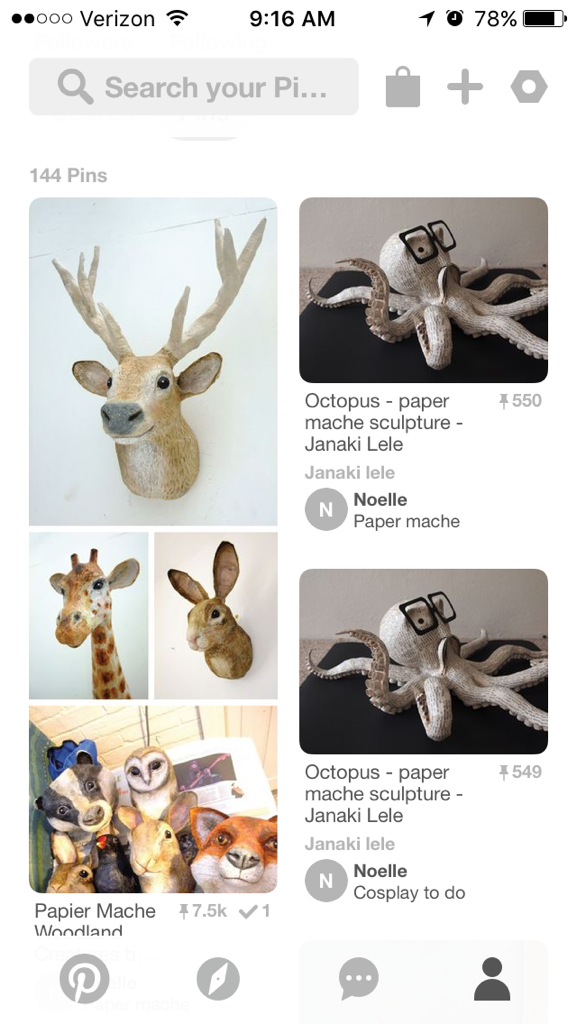
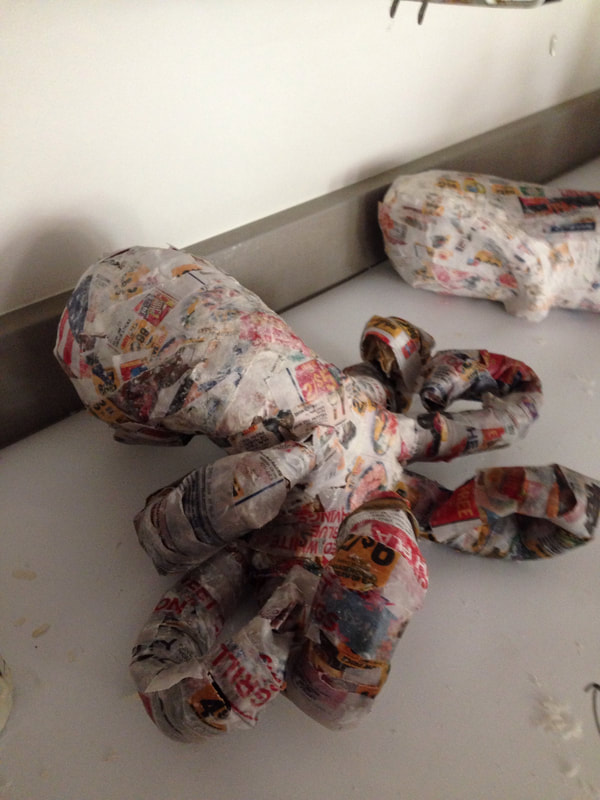
1/11/2018 0 Comments Throwing on the wheelWhen throwing you need to seal you piece well and center it thoroughly, When you start spinning (I used the kick wheel) Press down hard to create a dome. Then use your fingers to shape and make a inside part to your piece. Hands must be wet to shape and the piece should be done in a few motions. I had the difficulty of keeping the thing centered and and keeping it from becoming uneven in thickness. I found it was successful in keeping the piece smooth and finally was able to create a small bowl thing which was even and successful. 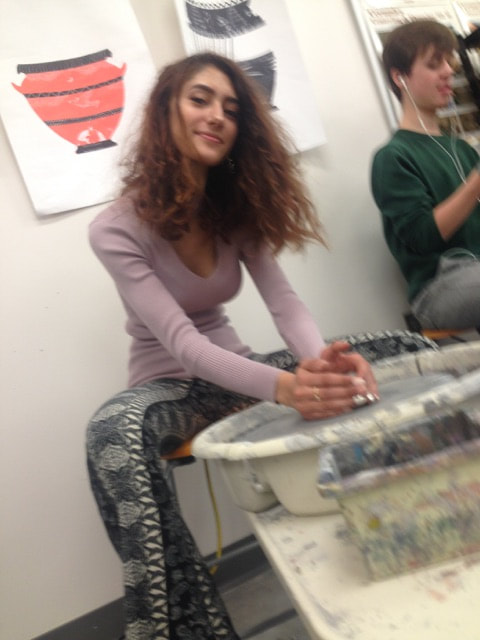 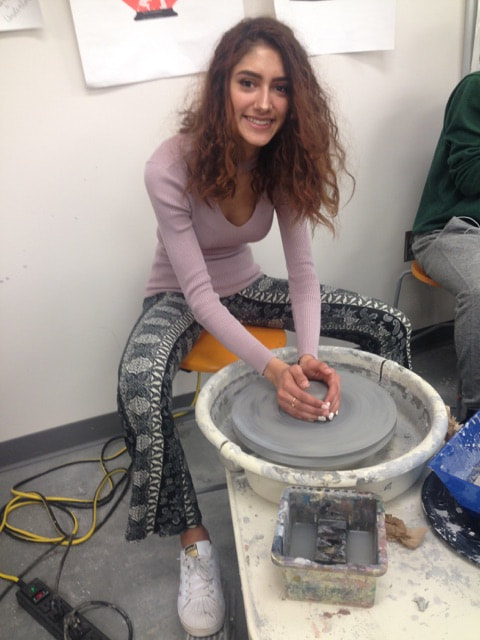 1/11/2018 0 Comments Tripod CupsThe tripod cup process is making a slab in the shape of rectangle in equal thickness. The snab can then be sprayed with cooking spray and imprinted with a pattern. Then rolled over a cylinder and scored and slipped to be made into the cylinder shape. After this the bottom is connected to make pegs for it to stand. Which is also slipped and scored and made even. After this it is dried and can have a handle attached. Then after fired can be glazed. 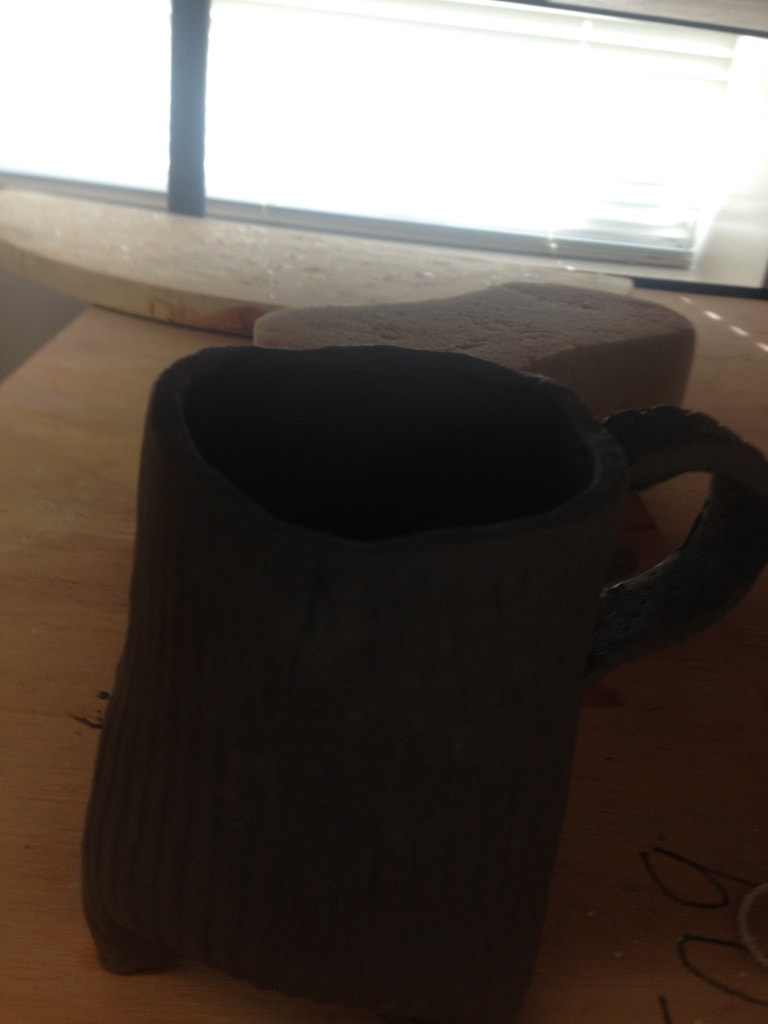  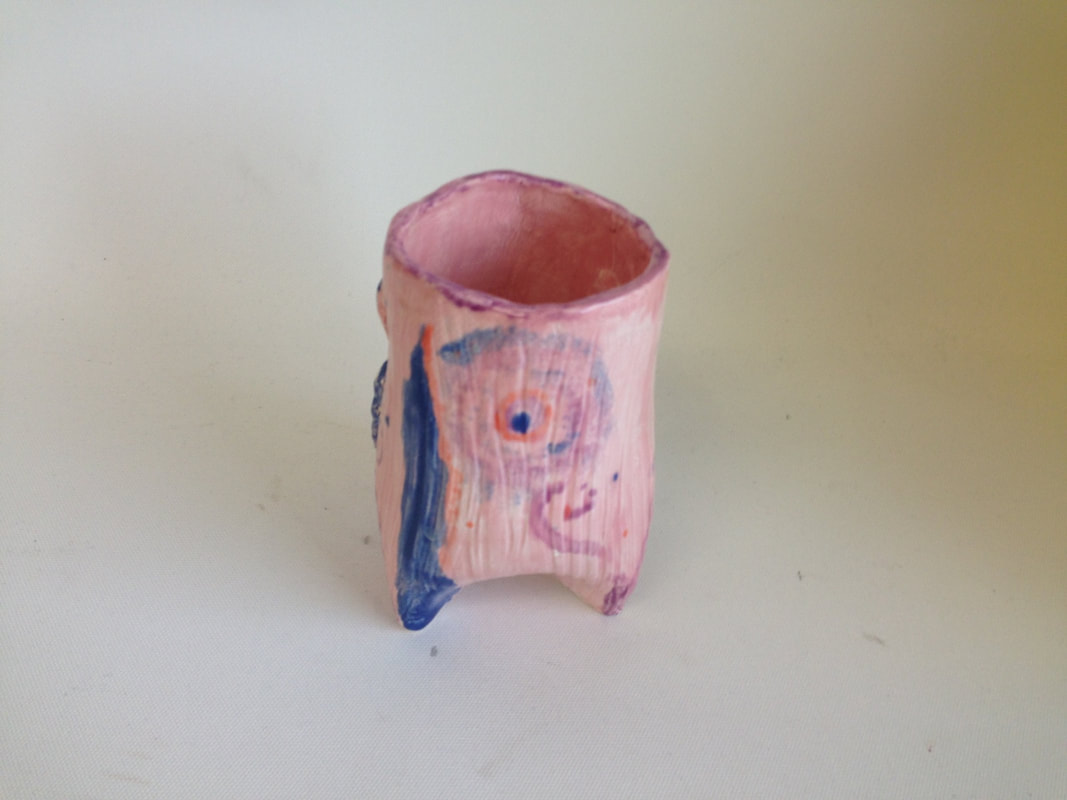 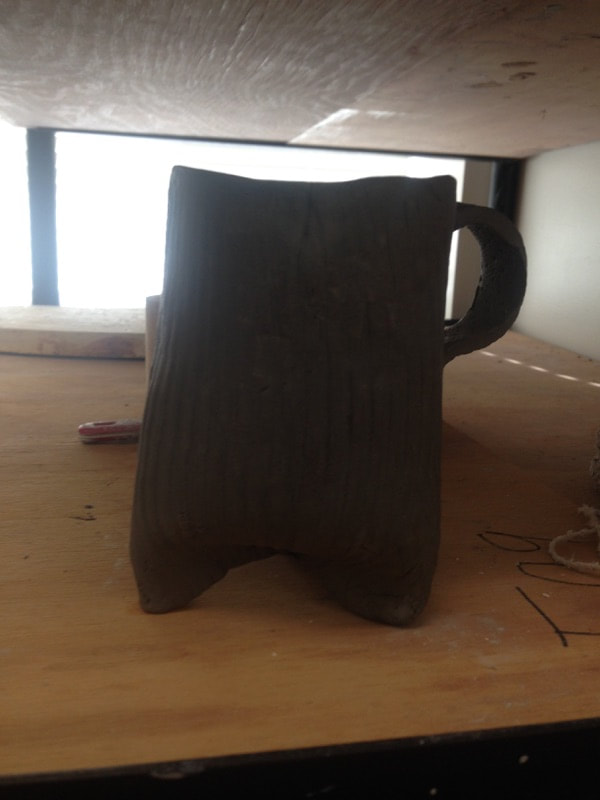 12/15/2017 0 Comments Pit firePit Fired Ceramics: When pit firing a piece you start by wedging clay. Then you can make a pinch pot or use the wheel to create a shape of the piece to your liking. Next I sanded my piece and it was fired once. After it was fired we added acid to it for color and taped and glued different substances to it. For example I used salt, snake skin, and a sponge. Overall then cover the piece with tin foil and leave a hole on the top. During the pit fire the vase was put under wood to burn. After burning for some while it is covered in sawdust and left to smoke and cool. After it is cooled we covered it in wax, which was then heated with a heat gun. I think my piece was successful in being not cracked and smooth. If I redid it I would probably add less wax because it added a yellow tint. I would also burn more things that create a red tint around it because I saw other people had a really nice red color on the pit fire piece.  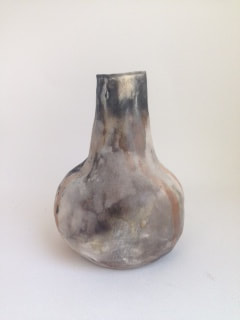 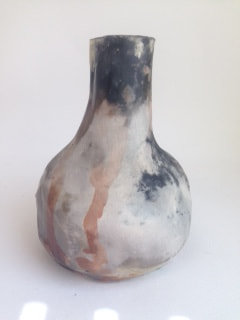 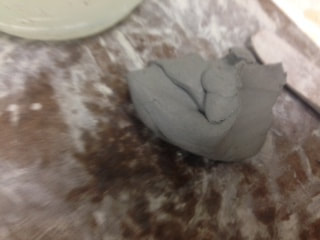 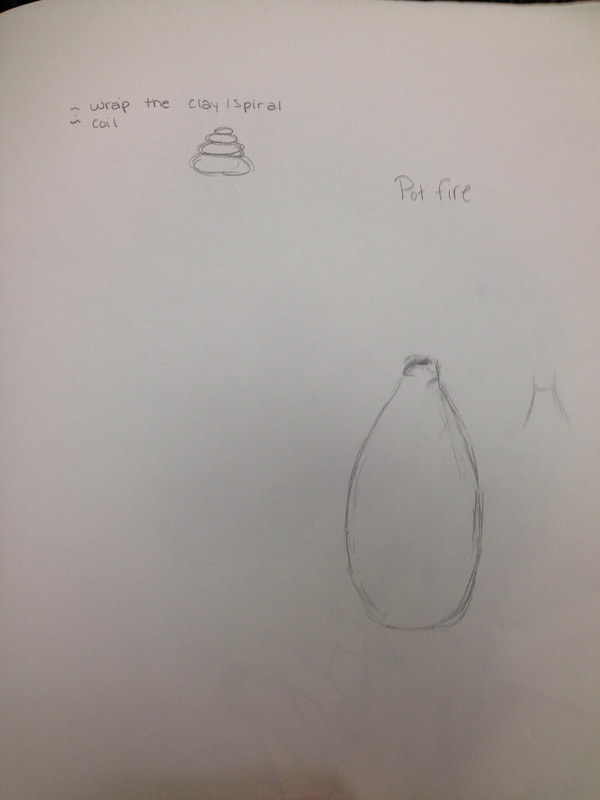 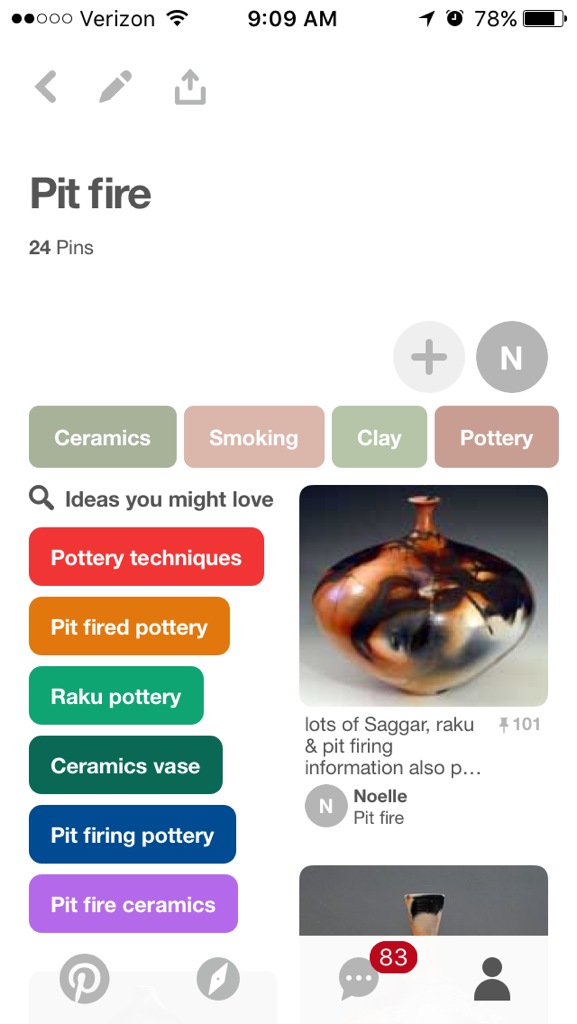 12/15/2017 0 Comments Paper MacheProcess: My process of making the octopus was using tuber for pipes and taping them to a ball of plastic bags. To shape the tentacles I put wire inside and bent them in different ways. Then we made a flour mixture and layered strips of newspaper covered in it onto the base. Then using the Viva towels to add more texture. Then I painted the piece. My octopus is successful because it looks like an octopus. It has the small details and Overall a good coverage of paper. The shape was quite difficult especially painting small crevices. covering all parts in paper mache evenly was a struggle with the inside of the tentacles. Also being gentle when paint or paper mache was drying may have prevented the areas from cracking. I'm not sure if that would have helped or if creating a sturdier base was have prevented it.
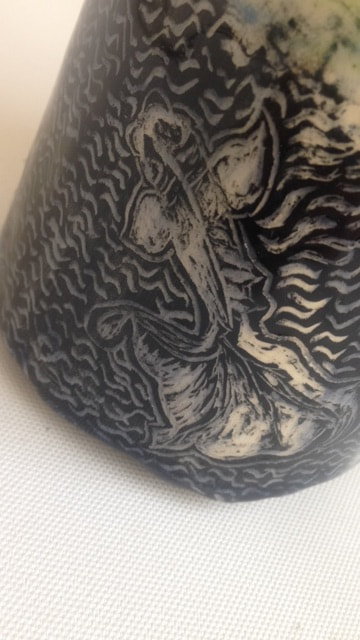
 10/23/2017 0 Comments Sgraffito
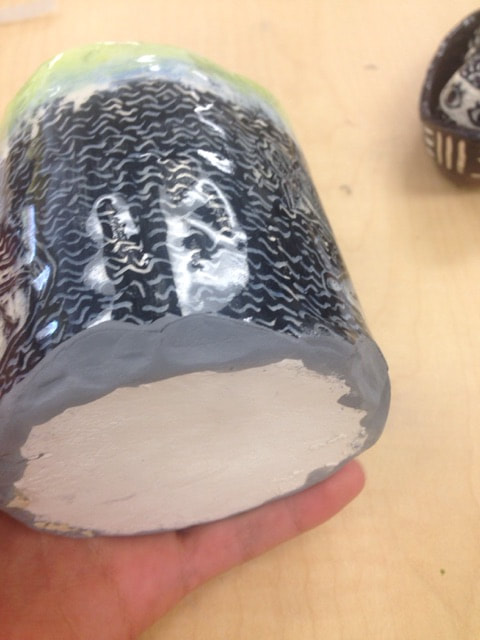
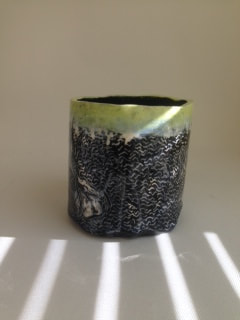
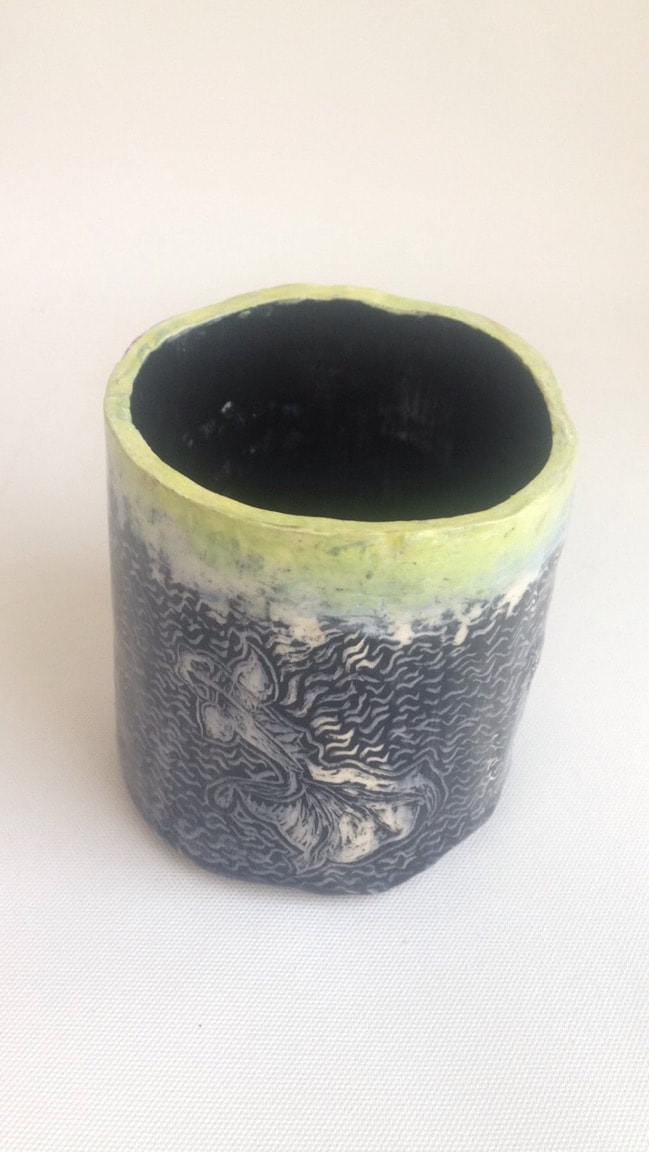
I got my idea from seeing so many photos of sgraffito pieces with different types of fish. I thought the fish were all so pretty. I noticed on pinterest many of the sgraffito pieces where pots holding succulents and because I have my own plants, a small pot for them could be useful. Once I received my clay, I found it really difficult to wedge, I finally was able to remove the air bubbles and roll it into a even shape (after realizing that it stuck to the tables). Then I was able to roll it onto the pipe and use scoring and slip to add the base piece. I found it difficult to keep the clay smooth and took multiple attempts to do so. I also tried multiple times to round the edges and keep from from being too sharp. 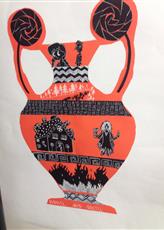 For the Greek sgraffito piece we made a Volute Krater. These were used to store ashes if the story told on them was about death (ie. Hades) or used to store oils, grain, and wine with other tales. The story on our vase was about Hansel and Gretle and the witch. I worked on creating the fire, coloring hansel and Gretle, and made Hansel. Sgraffito is scratching clay covered in a black under glaze to create marks. Registers are the rows on the vase that each have a scene of the story or design. FINISHED PIECE: The process of my piece was wrapping wedged clay around a tube covered in paper. Creating a cylinder using scratch and slip method and applying the bottom the same way. When hardened I added a layer of black undercoat. When it dried i scratched out the patterns of fish and water. I also scratched the top and added glaze to create a water look. After this We had it put in the kiln and then glazed and put in again. I thought that the process was really cool. I found it really satisfying to scratch off the under glaze and make designs. I really enjoyed making this piece. My piece was successful in the colors and pattern. It was not successful in how I applied too much of the clear glaze and it got stuck to the kiln and I have to use the hammer to break it off, and repaint my pieces broken parts. Which lengthened the process.Next time I would be more successful if I was more careful with applying this and making sure none is on the bottom.
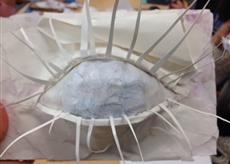
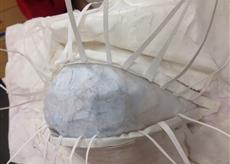
10/17/2017 0 Comments Paper Project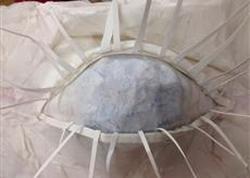 Mini project: I found that the use of glue was difficult. Sometimes it was hard for the shapes especially when large part had to be bent to stick together. I also found it difficult for shapes to look good from all angles. I found the final result successful. Especially how the piece looked from different sides and the cut out shapes after being bend or moved. 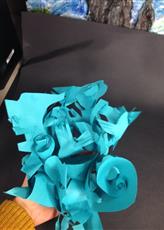
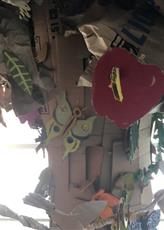
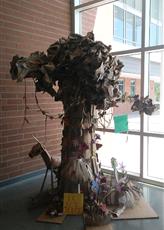
 These two pieces had lots of progress. With the eye I started with a layer of cardboard and used strips of it to create a mound shape. After created the mount i started layering on paper with watered down glue. After the layers hardened I added details in large dry paper pieces before following up and covering those too in gluey paper. The mask started out as a blank mask. I used hot glue to raise the tip of the nose, eyebrows,and cheeks, as well as the mouth area. Afterwards I started layering up the glue/water paper on the specific areas and elongated the chin. The most difficult part of the eye, was being patient with the glue drying, and shaping wet glue to stay the way i wanted it to. The most difficult part of the mask was attempting to create symmetry and keeping the paper from sticking up around the cardboard covering the eye holes. The eye piece was difficult in attempting to make the eye shape round, yet natural. Yet, it was successful. The eye shape looks quite real and I am happy with the outcome. As for the mask I was successful in achieving the creepy look using the cardboard over the eyes and making it look symmetrical. 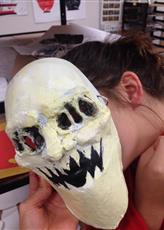 9/21/2017 0 Comments Final post on installation proj The idea of this installation is to be a "tree of life" to decorate the school. The installation was made from scrap cardboard and with many different components and ideas from the class. I think that the finished product looked amazing. I never expected those scraps and colorless tree to look so alive. The tree now looks so colorful and actually looks like a tree. I just think that the leaves could have been colored because before the added-on parts where put onto the tree. It looked like bark with crumpled bags on the top. I personally would have added more color to the different parts of the tree. I would have also added more grass around the tree and branches to display the small animals. My group created many of the mushrooms and insects on the tree. We all spent a large portion of our time creating small pieces to add to the tree and incorporating color. When working downstairs at the tree I helped bring the supplies and add the leaves (bags) on top of the tree and make more when they went missing. The other half of the group worked on gluing bark and branches onto the tree. I thought adding cardboard onto the roots looked really good and one girl did that very well. 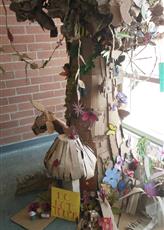
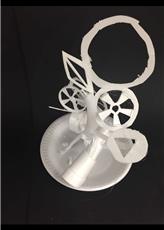
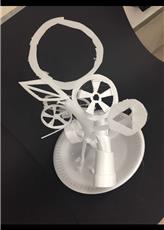
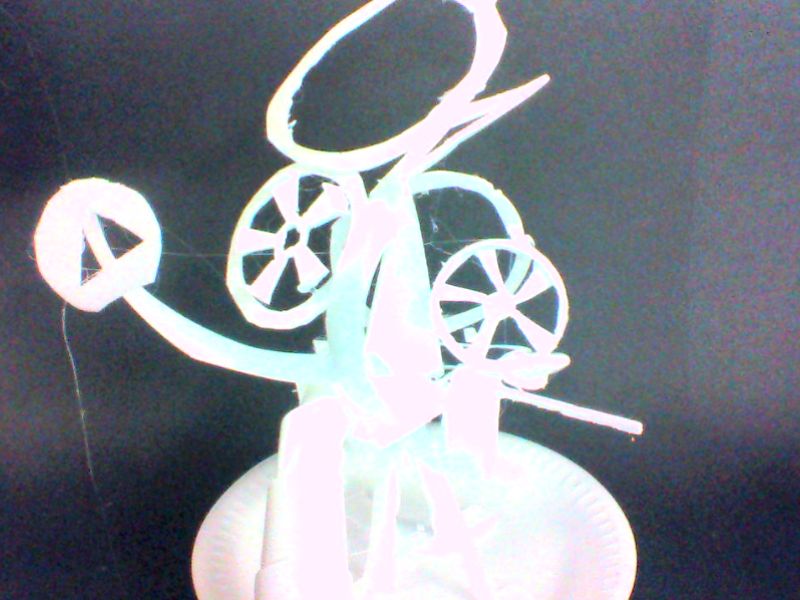
 9/17/2017 0 Comments Styrogami My idea was an old film recorder/player falling apart. I was successful at making the piece stay together and look like it defies gravity. The way the pieces are glued makes the piece look fragile, which was one of my goals. Cutting the spheres to make the rounded disks was also very successful and I was able to make smooth cuts. I found the Styrofoam cup a bit difficult to cut through at times. I also needed a large amount of plates and cups to make a larger abstract piece. Sometimes the foam would bend or rip when attempting to make small details which was frustrating. I also left on a bit too many strings of glue. Because I had only worked on the piece on day, i didn't have time to pull them off without the part falling apart. In the end it all came together.
9/6/2017 0 Comments Installation in Progress So far I believe that the "Tree of Life" installation is coming together very well. I think that the shape of the tree looks very nice an the placement is perfect. The small mushrooms and foliage created by the class for the installation looks nice. I had a difficult time cutting the cardboard to create small details. The most difficult part was avoiding making larger than needed cuts and making small designs in the cardboard. I think trying to create as many animals/plants in one class period was difficult. Gluing together the bark was a little bit difficult due to it's tendency to fall or lose shape in areas where the glue hasn't dried. Getting the cardboard to overlap and look natural was a challenge as well. Not only was getting a natural bark look difficult, same went for the bags as leaves. The leaves were really hard to clump together and sturdily attached. They looked a bit off and un tree-like in the end. I think I was successful in created mushrooms. I saw people creating them in different ways and wanted to recreate the ideal mushroom i had imagined.I also successfully was able to create a butterfly and paint it. The butterfly was my favorite piece I made. I also was successful in making large amounts of foliage from paper bags. 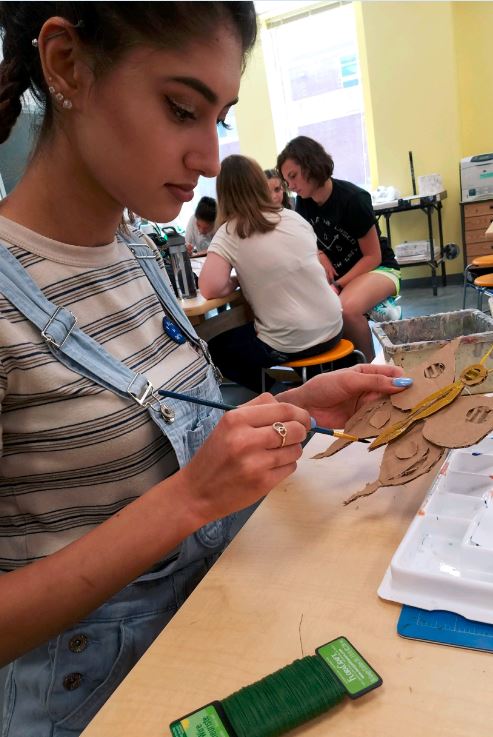 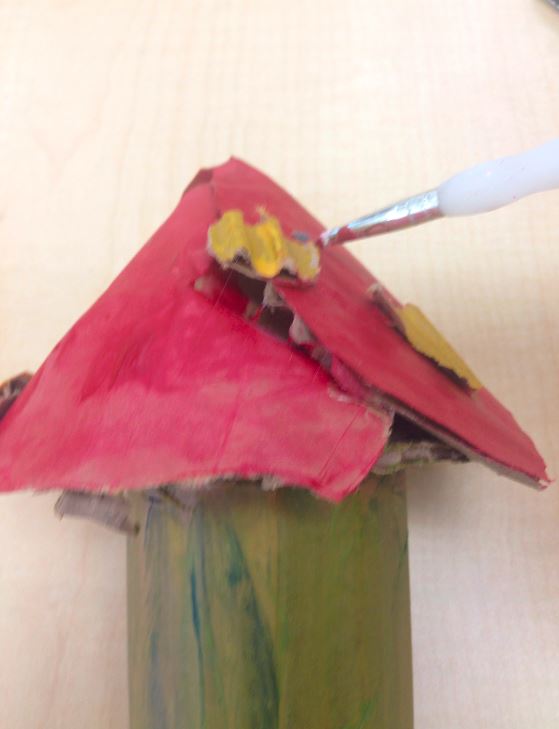  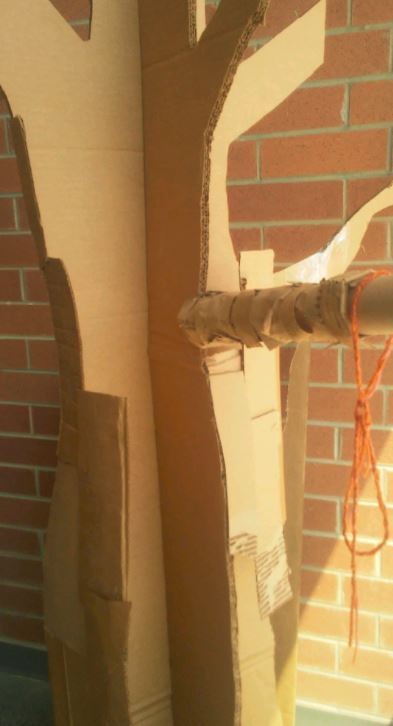 |
AuthorWrite something about yourself. No need to be fancy, just an overview. Archives
January 2018
Categories |


 RSS Feed
